
Do you dread the cleanup after cooking?
Drip pans are an essential tool for easing the burden of meal prep – and here, we will show you how to use them properly for improved cleanliness and easier cleanup. Get ready to learn the tricks that will keep your kitchen pristine!
Introduction
This guide will offer practical advice on how to properly use a drip pan for improved cleanliness and easier cleanup. It will provide information on the various types of drip pans, their advantages and disadvantages, as well as techniques to get the best results.
Along with this, there are also tips on maintenance of your drip pan and additional tools that can help make clean-up easier. We will also provide safety information for using a drip pan to ensure your safety.
Following this guide will ensure that you are able to take advantage of all the benefits of using a drip pan while minimizing any potential risks associated with it.
Importance of using a drip pan for improved cleanliness and easier cleanup
In order to maintain kitchen hygiene and improve efficiency during cleanup, it is important to use a drip pan in order to contain any mess which may occur. The use of a drip pan can help keep food safe from potential cross-contamination and prevent the spread of germs. Furthermore, using a drip pan will drastically reduce the amount of time needed to clean up after cooking.
A drip pan is commonly found in ovens or other kitchen appliances, such as stoves. It captures any grease or spills which may happen while cooking and keeps them contained in the metal or plastic pan. This can help reduce mess while also keeping your appliance cleaner and minimizing the need for frequent cleaning.
Furthermore, a properly used drip pan allows for quicker cleanup once cooking has been completed. The spillage is quickly captured into the pan so that disposal is made much simpler with no excess mess left on benchtops or floors, lessening the chance for slips or falls. Drip pans also make it easier to transfer remaining drippings into jars for later use as well as disposing of them safely and quickly in appropriate waste containers; hence reducing wastage from clogging your sink’s drainage system and improving water efficiency within your home kitchen even further. Additionally, these pans can be wiped out with minimal effort afterwards and refilled again when needed without too much of a hassle.
Understanding the Role of Drip Pans in Meat Smoking
When smoking meat, it is essential to use drip pans underneath the meat to catch the juices and prevent messes or flare-ups in the smoker. Drip pans are also useful for baking breads and cakes, as they help keep the food from sticking to the bottom of your smoker and catching fire.
When you are using a drip pan, place it directly on top of your heat source such as charcoal or a gas burner. It’s important that it be centered, so that it can hold all of the juices coming from the meat without overflowing onto other parts of your cooker. Make sure that you have enough space around it for air to circulate and to prevent any potential flare-ups due to over-heating.
It is recommended that you use aluminum foil in conjunction with your drip pans for easier cleanup – this will allow you to easily remove any excess fat or grease that has accumulated while smoking your food. Place a sheet of aluminum foil over the top of your pan before adding your meat, making sure not to trap any steam by completely sealing off all sides. This will also help capture smoke and fat splatter while keeping clean up time down significantly!
In addition, always make sure that dampers are adjusted correctly and change out coals regularly if need be – this will ensure optimal temperature control throughout smoking process with minimal mess thanks to a perfectly placed drip pan!
How meat releases juices during smoking
When smoking meat, it is important to know how meat releases juices during the cooking process. It is essential to use a drip pan in order to keep your cooking area clean and properly collect any drippings that may occur during the smoking process. The following will provide more information on drip pans and how they help keep your smoking area clean and assist with easier cleanup.
Drip pans are essential pieces of equipment for grilling and barbecuing, as they are designed to catch any grease or fat runoff from the food being grilled or smoked. When barbecuing, meat releases both moisture and fats into the air, some of which make their way onto surfaces around your smoker or grill. This buildup can easily be avoided by placing a drip pan beneath your food on the grill grates. As these juices mix in with smoke from burning wood chips, they settle on all kinds of surfaces nearby which can lead to an unpleasant mess that’s difficult to remove and dispose of once it’s time for cleanup.
Using a drip pan helps contain all these liquids in one place until you’re ready to dispose of them safely after cooking is complete—this makes post-cooking cleanup infinitely easier! Not only does this help keep surfaces nearby clean while still allowing you to achieve that smoky flavor without checking up too often during cooking, but it also helps reduce flare-ups caused by the fat droplets dropping onto hot coals or even flames. By keeping all liquids under control, you extend the life of your equipment as well as reduce fuel consumption when using charcoal grills or smokers.
How drip pans collect the juices and prevent flare-ups
One of the most beneficial functions of a drip pan is its ability to collect juices and other liquid drippings from the food on your grill, preventing them from incinerating or causing flare-ups. Flare-ups are disasters waiting to happen — they can cause serious damage to your food, your grill, and even potentially put you or the members of your household at risk of injury.
Most grills will come with a built-in drip pan that will help you to control juiciness and control flare-ups. If your grill doesn’t come with one preinstalled, it’s a good idea to invest in one so that all those delicious but potentially dangerous drippings don’t end up burning on the bottom of your grill. For added protection from splattered oil and grease, it may be helpful to line the drip pans with aluminum foil before use. This makes cleanup much simpler—once you’re done cooking for the day, simply discard the foil!
When shopping for a drip pan for your grill, consider a durable stainless steel design that stands up well against high temperatures — a thin aluminum pan may be more likely to warp during intense heat sessions. Make sure any body panels are firmly held in place by fasteners such as clips or screws, and select pans made specifically for use with gas grills if possible — they will fit better than models designed for charcoal grills rather than gas models.
Benefits of using a drip pan
Using a drip pan when cooking can provide a number of benefits that help maintain kitchen cleanliness, reduce mess and make cleanup easier. Most notably, it protects against splatter and grease buildup, ensuring that surfaces and cookware remain clean.
Additionally, drip pans can absorb heat so that the cooktop or range surface remains cool while cooking. This prevents any accidental burns on both the user as well as helping protect countertops or cooktops from thermal damage.
Finally, using a drip pan reduces food waste by trapping fallen food particles before they end up on the floor beneath the stove. This allows for easier cleaning and prevents stray bits of food from crawling into unreachable areas. Drip pans also catch any extra liquid from food items like stir-fry ingredients so that the liquid does not escape and run off onto other objects around the kitchen area. This also helps minimize extra messes in the kitchen overall.
III. Preparing the Drip Pan
Before you begin using a drip pan to catch messes and make for easy cleaning, you’ll want to ensure it’s properly prepared. To do this, start by washing the drip pan with warm, soapy water.
After that you can line it with whatever kind of material you plan to use for catching any spilled liquids, such as aluminum foil or parchment paper. This will help ensure that nothing seeps through the surface of your drip pan and makes a bigger mess to clean up later!
When putting your chosen material in the bottom of the pan, fold it smoothly and evenly so that liquid has nowhere else to go but the sides and out of the pan while still allowing it to completely cover the bottom. Once you’re done with this step, repeat the above steps one more time to make sure everything is prepared properly.
Finally, place your finished drip pan underneath whatever appliance it will be helping keep clean during use.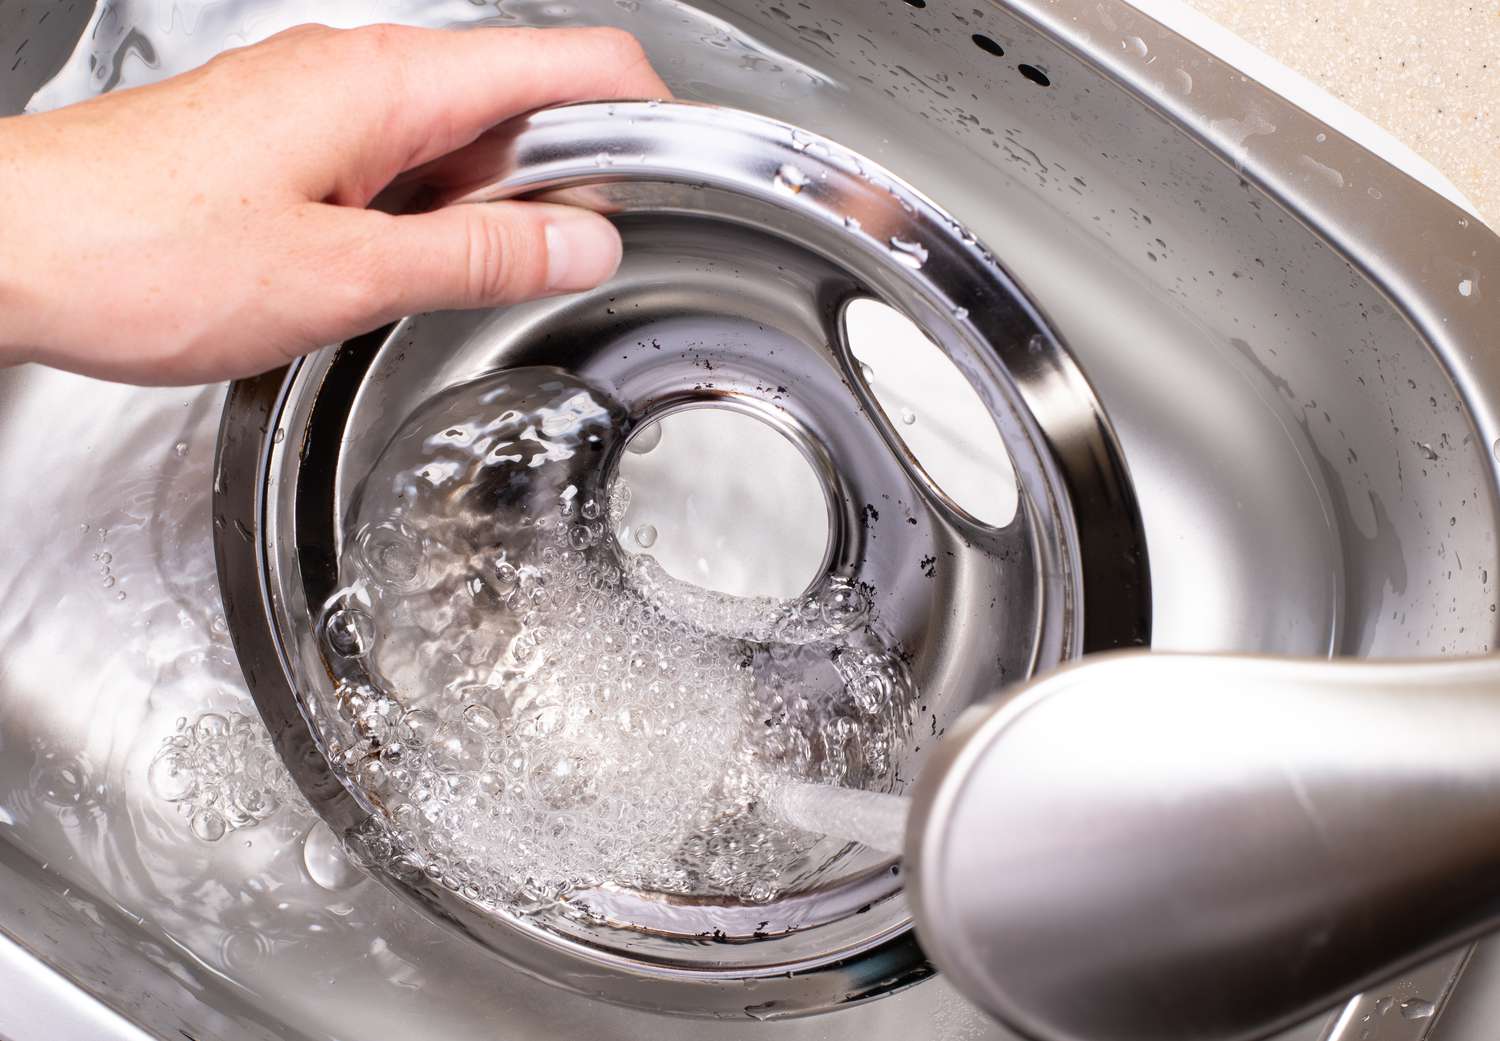
Choosing the right size and type of drip pan
It is important to choose the right size and type of drip pan when cleaning up after a messy kitchen spill or preparing food. The dishpan you select should fit the size and shape of your countertop and the materials it is made from should be able to easily tolerate hot temperatures. Also, consider the types of cleaning products you will be using in your area. If a lot of strong chemicals are used in your kitchen, look for pans that resist corrosion due to those chemicals.
Along with choosing a tray with an appropriate size and material, it’s also important to think about where you’ll store it when not in use. If counter space is limited or your kitchen is small, look for dishpans that stack, as this will maximize storage space and save energy when not in use.
Finally, consider what type of drainage system you need for the pans you select. Is there a sink nearby where food scraps can be rinsed away? If so, you may need larger pans with deep sides so that all liquid can be safely transported there without spilling out onto counters or floors. If your kitchen has strict recycling laws, you may need more than one type of pan – one for soft materials such as cardboard and one for solid materials such as glass or plastic bottles – to make sure everything can be properly separated before being taken out as waste. Before making a purchase on a drip pan set that would meet all these criteria think through what sizes and shapes will help fulfill all these needs while minimizing waste at the same time; it is an essential part of having a well-kept kitchen.
Adding ingredients for flavor (optional)
After pouring the water cup into the water container, you may want to add some steeped ingredients for added flavor or to customize your own cup of coffee. Generally, ground spices and whole leaves are recommended; Avoid pre-mixed or heavily processed ingredients, as these can lead to a cloudy cup.
Additionally, be sure to select ingredients that will not imbalance with other flavors present in the coffee blend. Commonly used steeped ingredients include cinnamon sticks, orange peel, rosemary sprigs, peppercorns, star anise pods and fresh ginger slices. The amount of these ingredients should not exceed more than 1 tablespoon to 1 cup of ground coffee ratio.
If the coffee has a strong presence of one particular ingredient such as cardamom cardamom or chamomile , reduce the amount by half. To enhance sweetness in your drip pan brews you can add a few drops of agave nectar or honey in each mug before serving.
Monitoring and Maintaining the Drip Pan
Once the drip pan has been installed in your kitchen and connected to the proper waste line, it is important to regularly monitor it for any potential problems. The most common issue that can grow more serious over time is a mineral buildup in the lines or within the pan itself. This type of buildup can eventually turn into a clog, which could cause a big mess and potentially damaging backups. In order to keep it running properly, it is important to clean out the drip pan on a regular basis. Depending on its size and usage, this could range from once every couple of weeks up to once every three months.
In order to do this correctly, you will first need to turn off the source of water and place a bucket beneath the trap so that you can catch any excess cleaner or runoff during cleaning. When cleaning with products specifically made for a drip tray or manual dishwashing liquid, use soft scrubbers such as sponges or soft brushes with good water pressure (not jets) in order to remove any debris or buildup from within the pan itself. If there are still signs of residue after one cleaning session, retry using additional cleaner if necessary. Once all debris has been removed from within the pan and you are satisfied with its new level of cleanliness, turn your attention towards ensuring that all fittings are tightened before turning back on the source of water supply and testing that all parts are working correctly by running hot water through them for at least 5 minutes before using them again for cooking duties.
Checking the level of liquid in the drip pan
Regularly checking the level of liquid that accumulates in the drip pan is a critical part of keeping your kitchen clean and efficient. An over-filled drip pan can become a breeding ground for bacteria, which could lead to serious health risks. For this reason, you should frequently check the amount of liquid present in the drip pan and empty it if necessary.
There are two ways to check the level of liquid in your drip pan: visually inspecting it or using an electronic device such as marinade measuring cup. Visually inspecting involves looking at the contents of the pan with your eyes, so that you can see if any liquid has accumulated in it. Using an electronic device is often more accurate, as it takes precise measurements that cannot be obtained by simple visual inspection.
If you use an electronic device to measure the amount of liquid in your drip pan, remember to keep track of what time you took each measurement so that you know when to check again. If necessary, use a marker to denote on the pail’s side where the level of liquid went down after all has been emptied out – this will ensure accuracy during future measurements.
Cleaning the drip pan
Cleaning the drip pan is one of the most important parts of proper drip pan maintenance and should not be overlooked. Depending upon its condition, it may need to be wiped out daily or at least weekly. If you have accumulated a lot of hard water buildup or other debris, it should be cleaned more frequently.
After each use, make sure to collect any debris that may have collected in the pan. Allow the contents to cool before cleaning and dispose of everything in an appropriate manner. To clean, use a combination of water and a mild detergent on a paper towel or rag for spot-cleaning any areas with dried spills or grease stains. For stubborn stains, use steel wool and baking soda/water paste that you scrub into the stained area for about 45 seconds (rinse carefully).
Once all visible food residue has been removed from the drip pan, rinse it thoroughly with cold tap water and then dry with a paper towel before using again.
Conclusion
You now have a better understanding of the importance of drip pans, how to correctly use and maintain them and why it is important to have clean drip pans. The performance and longevity of your cooking equipment depend on its cleanliness and proper maintenance. By following the steps outlined in this guide, you will ensure that you properly use drip pans for improved sanitation, easier cleanup, and better performance.
Thanks for reading!
Importance of using a drip pan for improved cleanliness and easier cleanup
The use of a drip pan is essential for any kitchen, and it helps to keep countertops, floors and cooking surfaces clean and tidy. By catching fat, grease and other liquids that may splatter during the cooking process, a drip pan can help reduce messes and improve overall cleanliness in the kitchen.
In addition to being easier to keep clean due to the absorbent material of a drip pan, it also makes for easier cleanup afterward. It can be tossed into a washing machine or dishwasher, saving you time from labor-intensive scrubbing and wiping of countertops, floors or walls near your cooking area.
If a ladle or spoon is used while cooking with a drip pan present it can be placed in the dishwasher safely since any vapors, fats or oils will be safely contained within the pan itself.
See Also-
- Best WiFi Smoker
- Best Pellet Smoker Under 500
- Best Drum Smoker
- Best Wireless Meat Thermometer for Smoker
- Best Offset Smoker Under 1000